Easy Granny Square Crochet Pattern: Step-by-Step Guide
A stack of finished granny squares feels substantial and soft, with a structured weight that makes them a joy to hold in your hands. This project is suited for anyone who wants to build confidence with a hook, as the repetition builds muscle memory quickly without requiring complex counting or tricky increases. You will find that the rhythmic motion of the stitches creates a calm, focused environment perfect for unwinding after a long day at the office. This guide helps you master the basic cluster technique, ensuring your squares lie perfectly flat with clean, tidy corners every time you crochet.
Why You’ll Love This Pattern
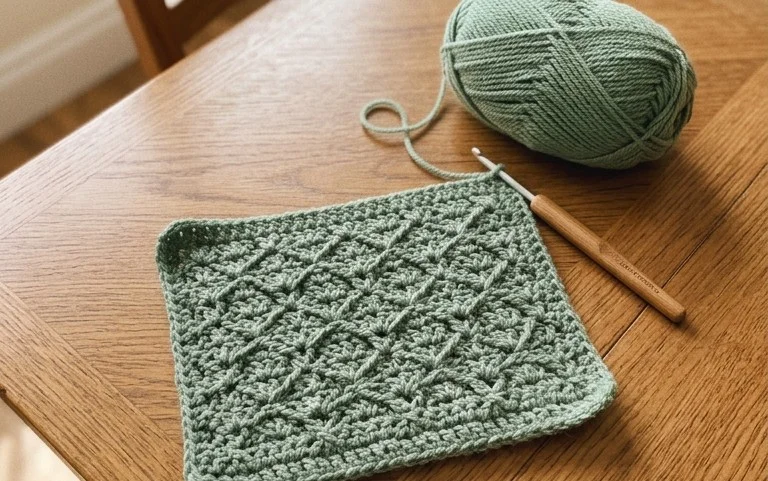
The Classic Crochet Granny Square is the quintessential building block for fiber artists. You will find that this pattern is exceptionally meditative due to the consistent rhythm of clusters and chains. Because it uses small amounts of yarn for each round, it serves as the ideal stash-buster for those leftover scraps of worsted weight wool or acrylic. The structure is inherently modular, meaning you can stop after a few rounds for a small coaster or continue for hours to create an expansive, heirloom-quality afghan. You will also appreciate how the center-out construction allows you to easily adjust the final size without needing to rework the entire piece.
I finally learned to read a pattern thanks to this guide. The granny square layout is so logical that I felt confident moving from the first cluster to the final border in one sitting.
— Sarah, beginner crocheter
Pattern Overview & Skill Level
- Skill Level: Beginner
- Approximate Time: 30 to 45 minutes per square
- Construction: Worked in rounds starting from a magic ring or a chain-four loop, expanding outward with corner increases
- Finished Dimensions: Approximately 6 inches by 6 inches using standard tension
Materials & Supplies Needed
- Yarn: Worsted weight (#4), approximately 30 yards per square. Cotton blends provide crisp stitch definition, while acrylic is excellent for soft, washable blankets.
- Hook Size: 5.0 mm (US H-8)
- Notions: Tapestry needle for weaving in ends, sharp scissors, and an optional locking stitch marker to track the beginning of the round.
- Yarn Substitutions: You can use a DK weight yarn for a smaller, more delicate square, though you may need to add additional rounds to achieve the same finished size. Using a bulky yarn will result in a much larger, thicker square and will require a larger hook, such as a 6.0 mm.
Stitch Guide & Abbreviations (US Terms)
- ch = chain
- sl st = slip stitch
- dc = double crochet
- dc cluster = 3 double crochet stitches worked into the same space
- sp = space
- MR = magic ring
Step-by-Step Pattern Instructions
Granny Square Body
- Rnd 1: Create a MR. Ch 3 (counts as first dc here and throughout), 2 dc into the ring, ch 2, (3 dc into ring, ch 2) 3 times. Join with a sl st to the top of the beginning ch 3. (12 dc, 4 ch-2 sps)
- Rnd 2: Sl st into the next dc and into the corner ch-2 sp. Ch 3, 2 dc in same sp, ch 2, 3 dc in same sp. *Ch 1, skip 3 dc, (3 dc, ch 2, 3 dc) in next ch-2 sp. Repeat from * 2 more times. Ch 1, join with sl st to the top of the beginning ch 3. (24 dc, 4 ch-2 sps, 4 ch-1 spaces)
- Rnd 3: Sl st into the next 2 dc and into the corner ch-2 sp. Ch 3, 2 dc in same sp, ch 2, 3 dc in same sp. *Ch 1, 3 dc in next ch-1 sp, ch 1, (3 dc, ch 2, 3 dc) in next corner ch-2 sp. Repeat from * 2 more times. Ch 1, 3 dc in final ch-1 sp, ch 1, join with sl st to the top of the beginning ch 3. (36 dc, 4 ch-2 sps, 8 ch-1 spaces)
- Rnd 4: Continue the established pattern. Work (3 dc, ch 2, 3 dc) in each corner ch-2 sp and 3 dc in every ch-1 space along the sides, separated by ch 1. (48 dc, 4 ch-2 sps, 12 ch-1 spaces)
Finishing
After completing the desired number of rounds, fasten off your yarn, leaving a six-inch tail. Use a tapestry needle to weave the tail through the back loops of the stitches along the final edge to secure it. If you plan to join multiple squares, leaving longer tails can facilitate the seaming process later.
Care & Washing Instructions
- Hand wash or machine wash on a delicate cycle using cool water and a mild detergent.
- Lay the square flat on a clean towel to air dry, reshaping it into a perfect square while damp.
- Avoid using high heat in the dryer, as this can cause the fibers to felt or lose their stitch definition.
Pro Tips & Common Mistakes to Avoid
Maintain consistent tension by ensuring your yarn flow is not constricted as you pull through loops. If your square begins to ripple or wave, your tension is likely too loose; try moving down one hook size. Use a locking stitch marker in the top of your beginning ch-3 to help identify the end of the round, which prevents accidentally adding extra stitches. To weave in ends invisibly, run your needle under at least three sets of stitches in the same direction, then reverse the direction to lock the yarn in place.
Frequently Asked Questions
Can I use a different weight yarn for this pattern?
Yes, you can use any yarn weight. However, keep in mind that changing the yarn weight will significantly alter the finished size and drape of the square. You may need to add or remove rounds to reach your target measurement.
Is this pattern suitable for complete beginners?
This is an excellent project for beginners. It focuses on the double crochet stitch and introduces the concept of working into chain spaces, which is a fundamental skill in crochet.
How do I join these squares together?
You can join squares using a variety of methods, such as the whip stitch, mattress stitch, or a continuous join-as-you-go method using slip stitches. Choose the method that best matches the aesthetic you want for your final project.
Can I sell items made from this pattern?
You are welcome to sell physical items you create using this design. Please credit the original pattern design when sharing your work online or in person to support the community.
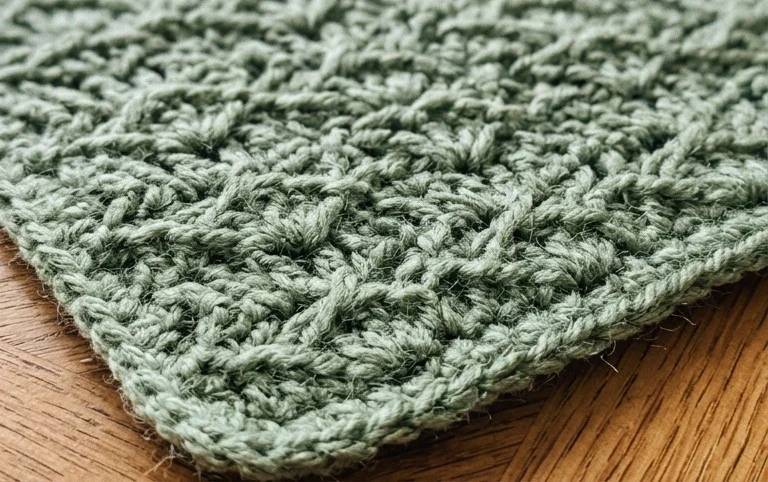
Your finished square provides a foundation for endless projects, from simple kitchen cloths to heavy winter blankets. You can change the appearance by alternating colors every round to use up smaller scraps or by switching to a chunky weight yarn for a larger, warmer outcome. Post a photo of your progress online to show off your tension and color choices. Browse our other free crochet patterns on the blog to find your next project and continue building your skill set with new, accessible designs this week.