Easy Crochet Drawstring Pouch: Free Beginner Tutorial
A small, sturdy pouch kept on your desk stores loose stitch markers or coins within easy reach. This project feels soft yet dense because of the single crochet stitches used throughout the base. It is a fantastic choice for those who want to practice working in continuous rounds without worrying about seam alignment or complex stitch patterns. You will learn to build a round bottom before moving into the straight sides and finishing with an eyelet row for the cord. Making this bag helps you clear out small bits of leftover yarn from your stash while gaining confidence in your hand movements.
Why You’ll Love This Pattern
This simple crochet drawstring pouch uses basic stitches to create a durable, versatile bag perfect for holding small items like stitch markers, coins, or lip balm. Because it is worked in continuous rounds, there are no visible seams to manage, resulting in a smooth finish that looks professional even if you are new to working in the round. The construction relies on a sturdy base of single crochet, which provides a dense fabric that keeps your items secure. It is an excellent stash-buster project, as it requires less than one skein of standard weight yarn, and you can easily complete it in a single afternoon.
I finished this pouch in under two hours while watching a movie. The instructions were very easy to follow and the size is perfect for my collection of measuring tapes.
— Sarah, beginner crocheter
Pattern Overview & Skill Level
- Skill Level: Beginner
- Approximate Time: 1.5 to 2 hours
- Construction: Worked in continuous rounds from the base up, finishing with a row of eyelets for the drawstring.
- Finished Dimensions: 4 inches wide by 5 inches tall when laid flat.
Materials & Supplies Needed
- Yarn: Worsted weight (#4), approximately 50 yards of cotton or acrylic blend yarn.
- Hook Size: 5.0 mm (H-8).
- Notions: Tapestry needle, one stitch marker, and 12 inches of cotton cord or a twisted chain of yarn for the drawstring.
- Safe yarn substitutions: You can use a DK weight yarn for a smaller, more delicate pouch, though you may need to increase the number of starting stitches to maintain the same dimensions. Avoid using very slippery yarns like silk, as the drawstring may not stay cinched closed.
Stitch Guide & Abbreviations (US Terms)
- ch: chain
- sc: single crochet
- inc: increase (2 sc in the same stitch)
- sl st: slip stitch
- st/sts: stitch/stitches
- yo: yarn over
- dc: double crochet
- Rnd: round
- MR: magic ring
Step-by-Step Pattern Instructions
Pouch Body
- Rnd 1: Start with a MR. Work 6 sc into the ring. Pull the tail to tighten. (6 sts)
- Rnd 2: Work 2 sc in each st around. (12 sts)
- Rnd 3: 1 sc, inc repeat around. (18 sts)
- Rnd 4: 2 sc, inc repeat around. (24 sts)
- Rnd 5: 3 sc, inc repeat around. (30 sts)
- Rnd 6: 4 sc, inc repeat around. (36 sts)
- Rnds 7–18: Sc in each st around. (36 sts)
Drawstring Header and Finishing
- Rnd 19: Ch 2, skip 1 st, sc in next st repeat around. (18 ch-2 spaces)
- Rnd 20: Sc in each ch space and sc st around. (36 sts)
- Finishing: Sl st to the first sc to join. Fasten off and weave in all ends using your tapestry needle.
- Assembly: Thread your cord or yarn chain through the ch-2 spaces created in Rnd 19. Tie the ends of the cord into a knot to secure the drawstring.
Care & Washing Instructions
- Machine wash in a mesh laundry bag on a gentle cycle with cold water.
- Lay the pouch flat on a clean towel to air dry, reshaping it while damp.
- Do not iron or bleach, as this can compromise the tension of the stitches and the durability of the fiber.
Pro Tips & Common Mistakes to Avoid
Maintain consistent tension throughout the project to ensure the base sits flat rather than cupping or ruffling. If you notice the circle bowing, your tension may be too tight; if it ruffles, your tension might be too loose. Use a stitch marker at the beginning of every round to keep track of your progress, as working in continuous rounds makes it easy to lose your place. When weaving in ends, run the yarn through the underside of several stitches in different directions to ensure the tail does not work its way out over time. If you wish to make a larger pouch, increase the number of rounds in the base by adding an extra round of increases, keeping in mind that this will require more yarn.
Frequently Asked Questions
Can I use a larger hook for this pattern?
Yes, using a larger hook will make the pouch looser and slightly larger, but it may also cause the holes between stitches to become wider, which could let small items fall out.
Is this pattern suitable for complete beginners?
Yes, this project only uses basic stitches and a simple magic ring, making it a great way to practice working in rounds for the first time.
Can I sell the pouches I make from this pattern?
You are welcome to sell finished items made from this pattern, but please credit the original design and use your own photographs to represent your work.
What if I don’t know how to do a magic ring?
You can substitute the magic ring by chaining 3 and working your stitches into the first chain, then tightening the center once you have finished the first round.
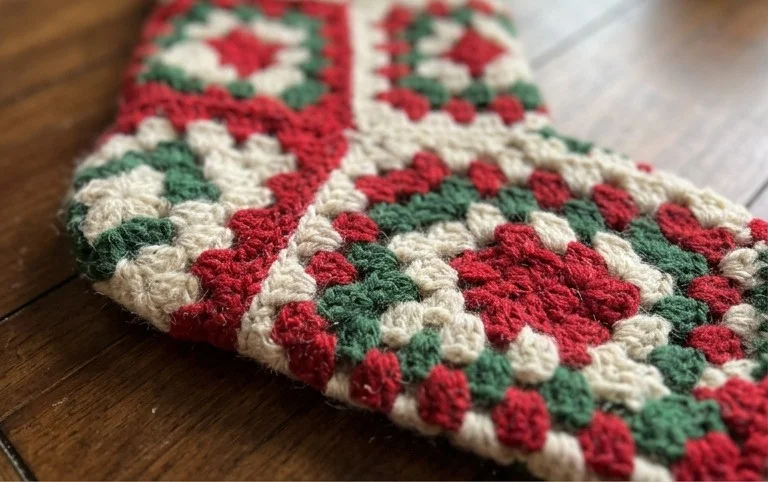
Your finished drawstring pouch keeps small treasures secure with a clean, handmade look. You might try using a velvet yarn if you want a softer, plusher texture for storing delicate items like jewelry. Please share a photo of your finished work on social media so others can see your color choices and neat stitches. You can find more free patterns for simple accessories and household items by visiting the project archives on our blog where new ideas are posted every week throughout the year.