Easy Scally Cap Crochet Pattern: Free Beginner Project
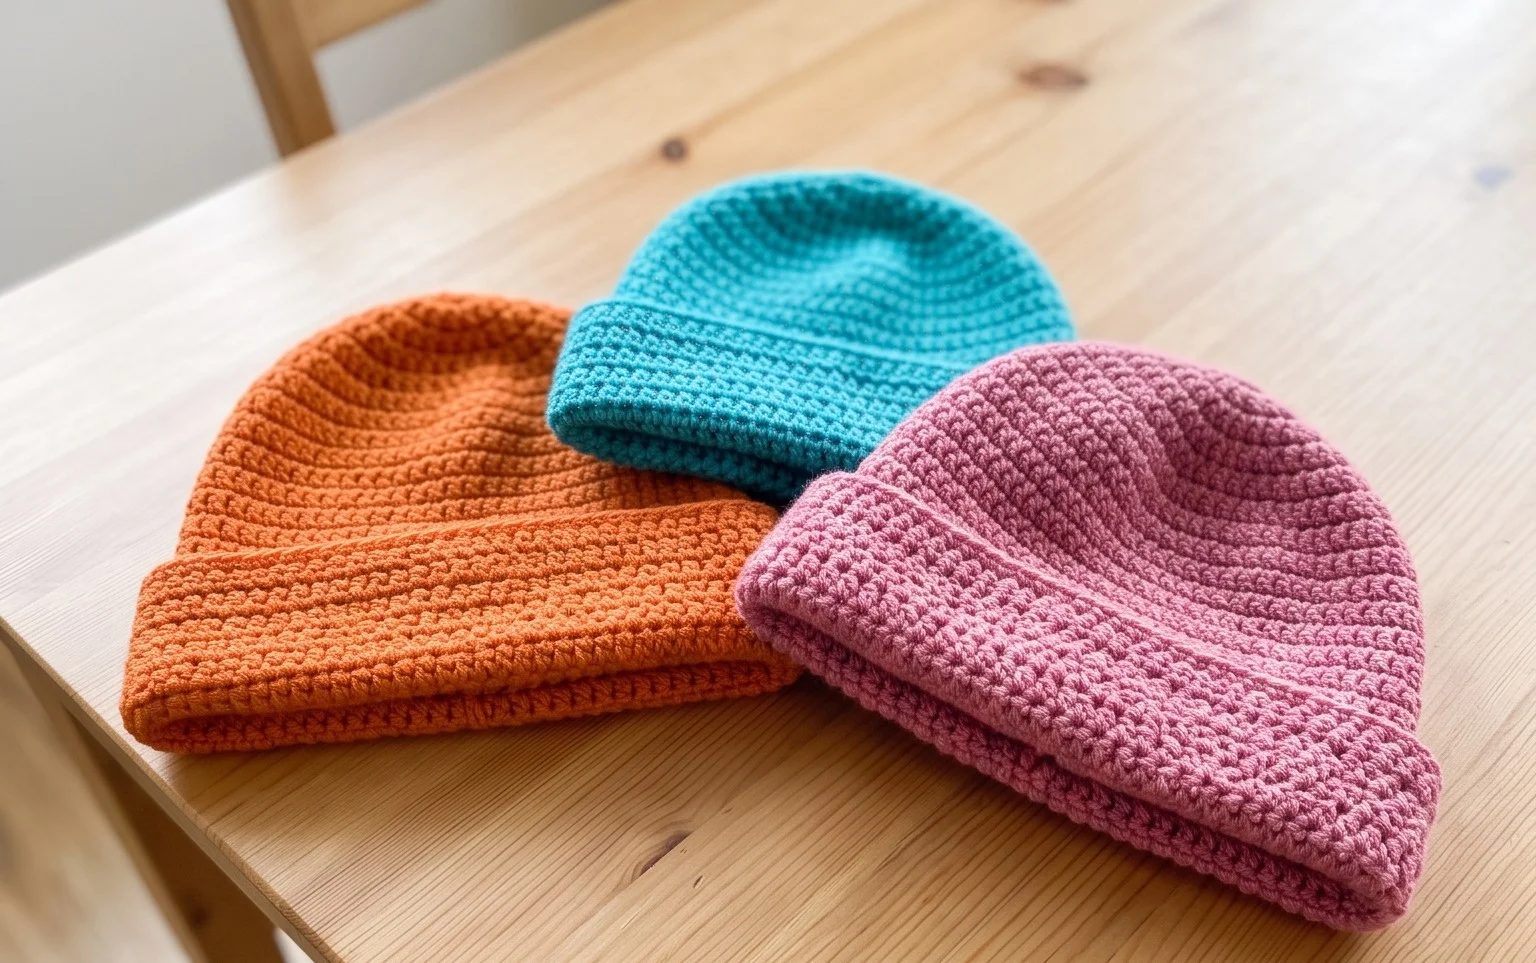
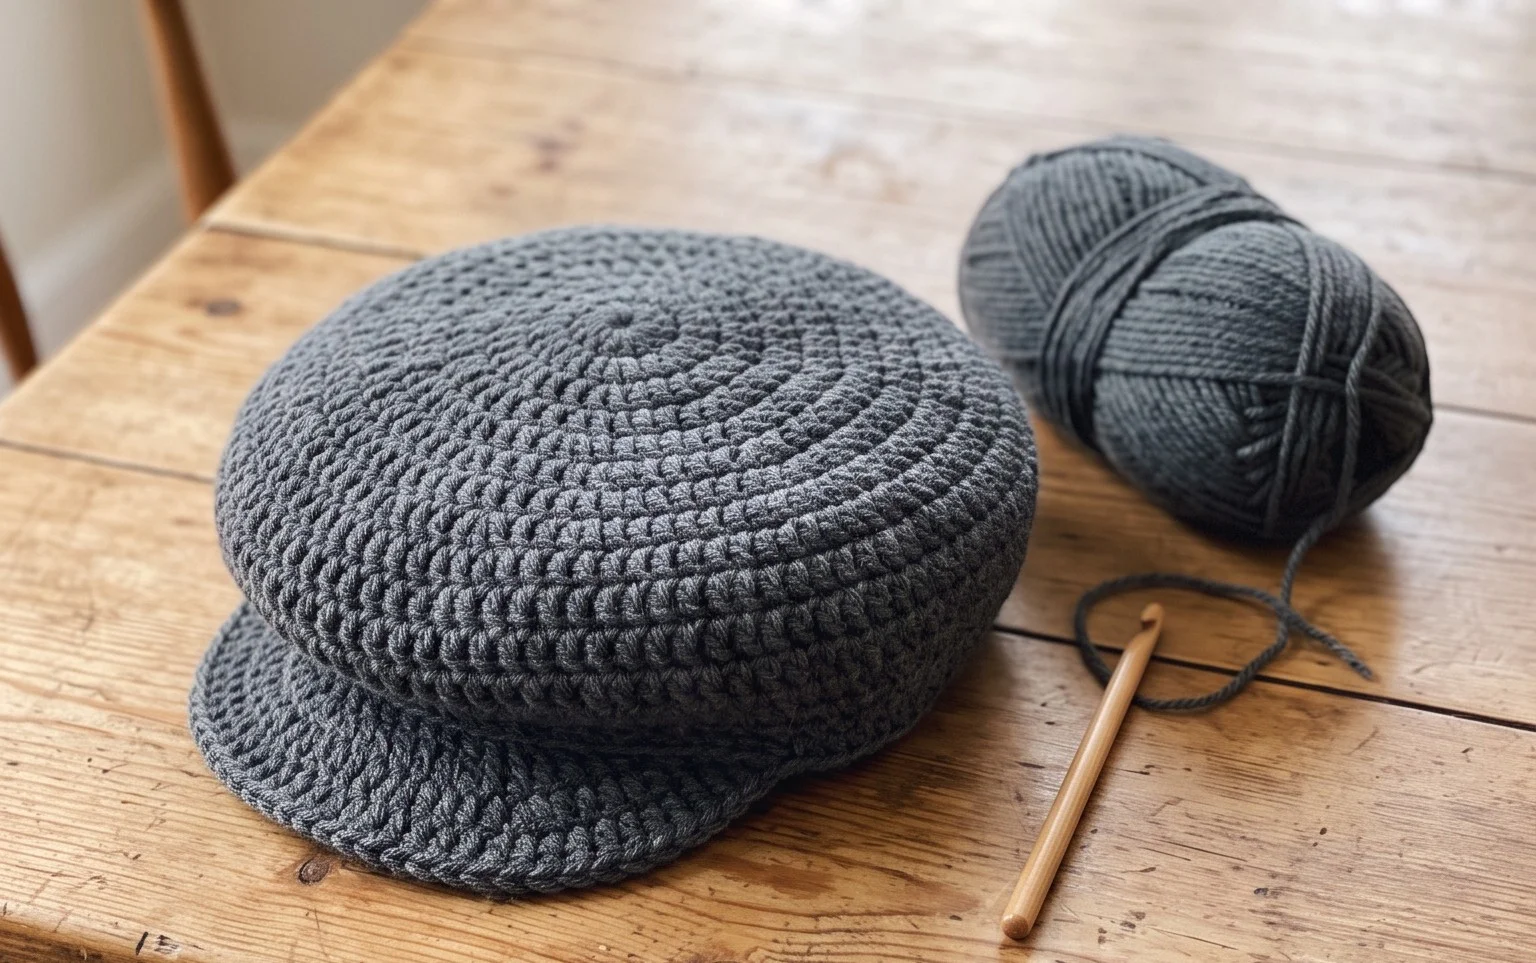
This tiny cap creates a sturdy, rounded shape that sits perfectly in the palm of your hand. It feels dense and satisfying because of the tightly worked single crochet stitches, which give the fabric a clean, professional finish. You will find this project helpful for building confidence with small-scale shaping and magic rings, especially if you have struggled with tension in the past. It works as a quick gift for a friend or a cute addition to a desk display. You will practice working in continuous rounds, managing tight stitch counts, and joining small pieces together to create a durable, finished item.
Why You Will Love This Pattern
This beginner-friendly project works up in under two hours, making it an ideal choice for last-minute gifts or stocking stuffers. Because the design requires less than 50 yards of yarn, it serves as a practical way to use up leftover scrap material from larger blankets or sweaters. The repetitive single crochet construction provides a rhythmic, meditative experience that helps new crafters build confidence in maintaining consistent tension. Once completed, the small size makes it a portable accessory for keychains or seasonal home decor.
I finished this pattern in a single afternoon while watching a movie. The instructions are very clear for someone who is still learning how to manage stitch counts in the round.
— Sarah, beginner crocheter
Pattern Overview & Skill Level
- Skill Level: Beginner
- Approximate Time: 1–2 hours
- Construction: Amigurumi style, worked in continuous rounds starting with a magic ring
- Finished Dimensions: Approximately 3 inches tall by 2.5 inches wide
Materials & Supplies Needed
- Yarn: Worsted weight (#4), 100% cotton or acrylic blend, approximately 40 yards. Cotton provides a stiffer, more defined structure for small toys.
- Hook Size: 3.5 mm (E-4) for a tight gauge that prevents stuffing from showing through.
- Notions: Polyester fiberfill stuffing, tapestry needle, stitch markers, and 6mm plastic safety eyes.
- Yarn substitutions: Wool yarn works well but may shrink if washed in hot water. Acrylic yarn is durable and washable, making it excellent for items handled frequently. Using a thinner yarn with a smaller hook will result in a miniature version of this project.
Stitch Guide & Abbreviations (US Terms)
- MR: Magic ring
- ch: Chain
- sc: Single crochet
- inc: Increase (work 2 sc in the same stitch)
- dec: Decrease (sc2tog using the invisible decrease method)
- sl st: Slip stitch
- st/sts: Stitch/stitches
- BLO: Back loop only, used to create a ridge or define the base
Step-by-Step Pattern Instructions
Body
- Rnd 1: Work 6 sc into a magic ring (6 sts).
- Rnd 2: Inc in each st around (12 sts).
- Rnd 3: [Sc in next st, inc in next st] repeat 6 times (18 sts).
- Rnd 4: [Sc in next 2 sts, inc in next st] repeat 6 times (24 sts).
- Rnds 5-9: Sc in each st around (24 sts).
- Rnd 10: [Sc in next 2 sts, dec in next st] repeat 6 times (18 sts). Attach safety eyes between Rnd 7 and Rnd 8, spaced 4 stitches apart. Add stuffing firmly.
- Rnd 11: [Sc in next st, dec in next st] repeat 6 times (12 sts).
- Rnd 12: Dec 6 times (6 sts).
Finishing
Cut the yarn leaving a 6-inch tail. Use the tapestry needle to weave the tail through the front loops of the remaining 6 stitches. Pull tight to close the opening and knot securely. Weave the remaining tail into the center of the piece to hide it.
Care & Washing Instructions
- Hand wash in cool water using a gentle detergent to maintain the shape of the fiberfill.
- Roll the piece in a clean towel to remove excess moisture rather than wringing it out.
- Lay flat on a dry towel in a shaded area to air dry completely.
Pro Tips & Common Mistakes to Avoid
Maintain tight tension throughout the project to ensure the stuffing does not poke through the gaps in your stitches. Always place a stitch marker at the start of each round to avoid losing your place, as continuous rounds lack a visible join. When weaving in ends, pull the yarn slightly through the body before cutting the excess so the tail retracts inside the stuffing, ensuring a clean finish. If you wish to make the project larger, use a heavier weight yarn and a corresponding larger hook, keeping in mind that this will significantly increase the total yardage required.
Frequently Asked Questions
Can I use a different yarn weight for this pattern?
Yes, you can use any yarn weight, but the hook size must be adjusted to ensure the stitches remain tight. If you use a thicker yarn, the finished item will be larger and require more stuffing.
Is this project suitable for absolute beginners?
This pattern is excellent for beginners because it uses only basic stitches. The most important skill to master here is the magic ring, which is a common technique for all circular crochet projects.
Can I sell the items I make from this pattern?
Please check the original designer’s specific terms regarding commercial use. While many designers allow the sale of finished items on a small scale, it is polite to credit the pattern source in your listing.
What happens if my stitch count is off by one?
If your stitch count is off, the shape of the body may become lopsided or the closure will not align correctly. Carefully count your stitches at the end of every round to ensure accuracy before moving on to the next step.
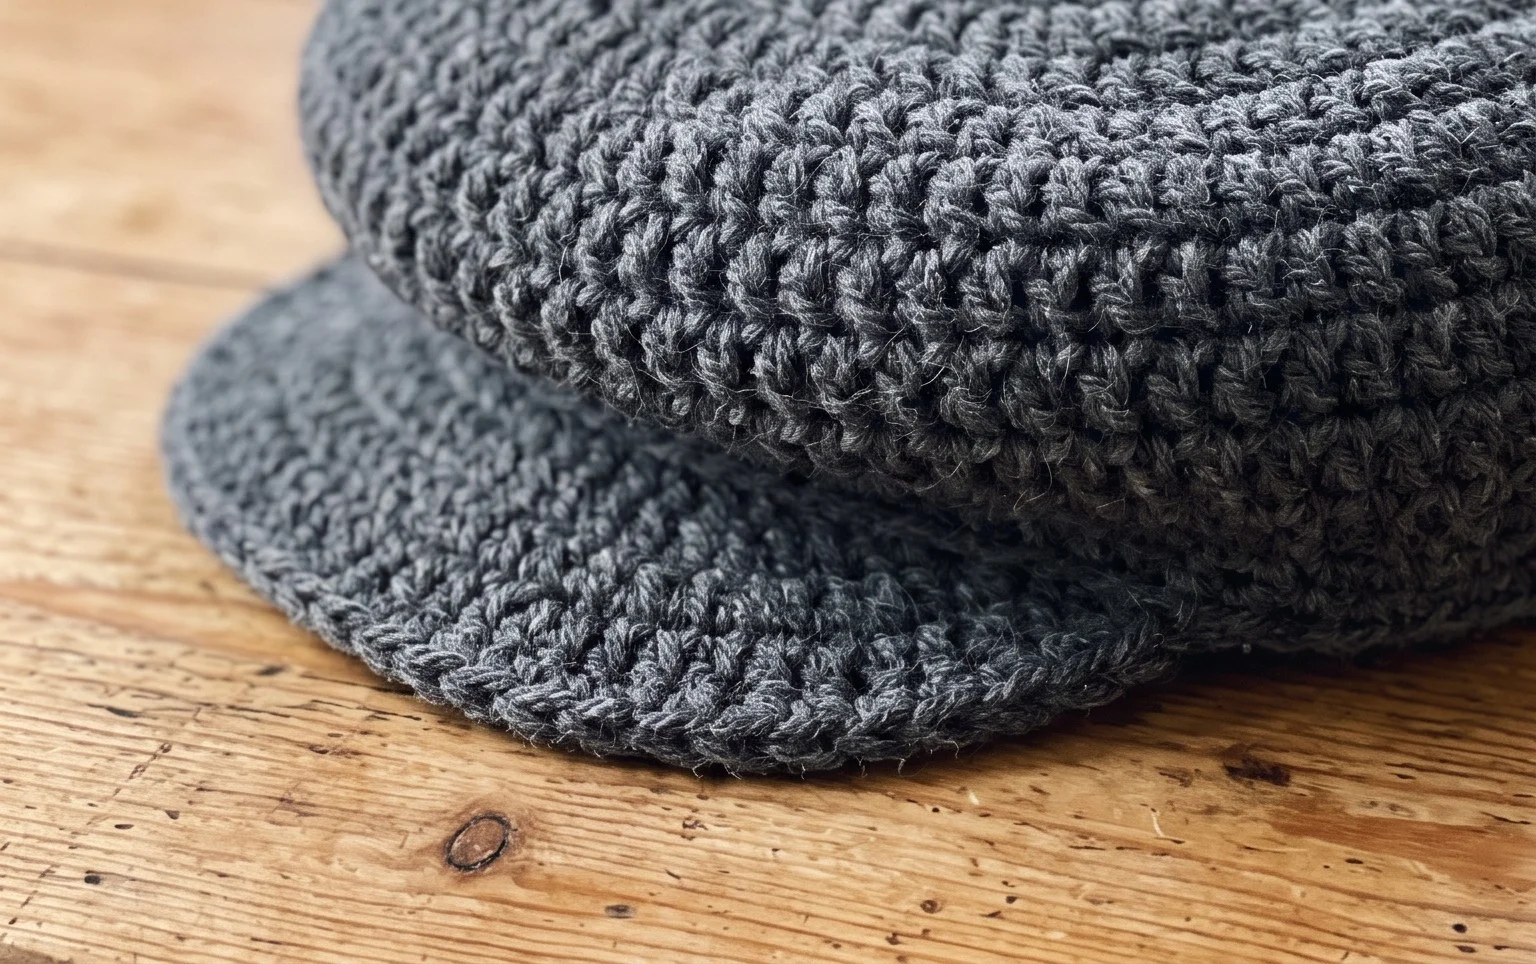
Holding this finished cap reminds me how much detail you can achieve with just a few yards of scrap yarn and a steady hand. If you want to change the style, try using a variegated yarn to give the cap a textured, rustic look instead of a solid color. Share a photo of your creation on social media to show others how yours turned out. You can find more free patterns to fill your afternoon over on the main blog page, where I keep all my favorite small projects organized for you.