Easy Crochet Flower Patterns for Spring: Free Guide
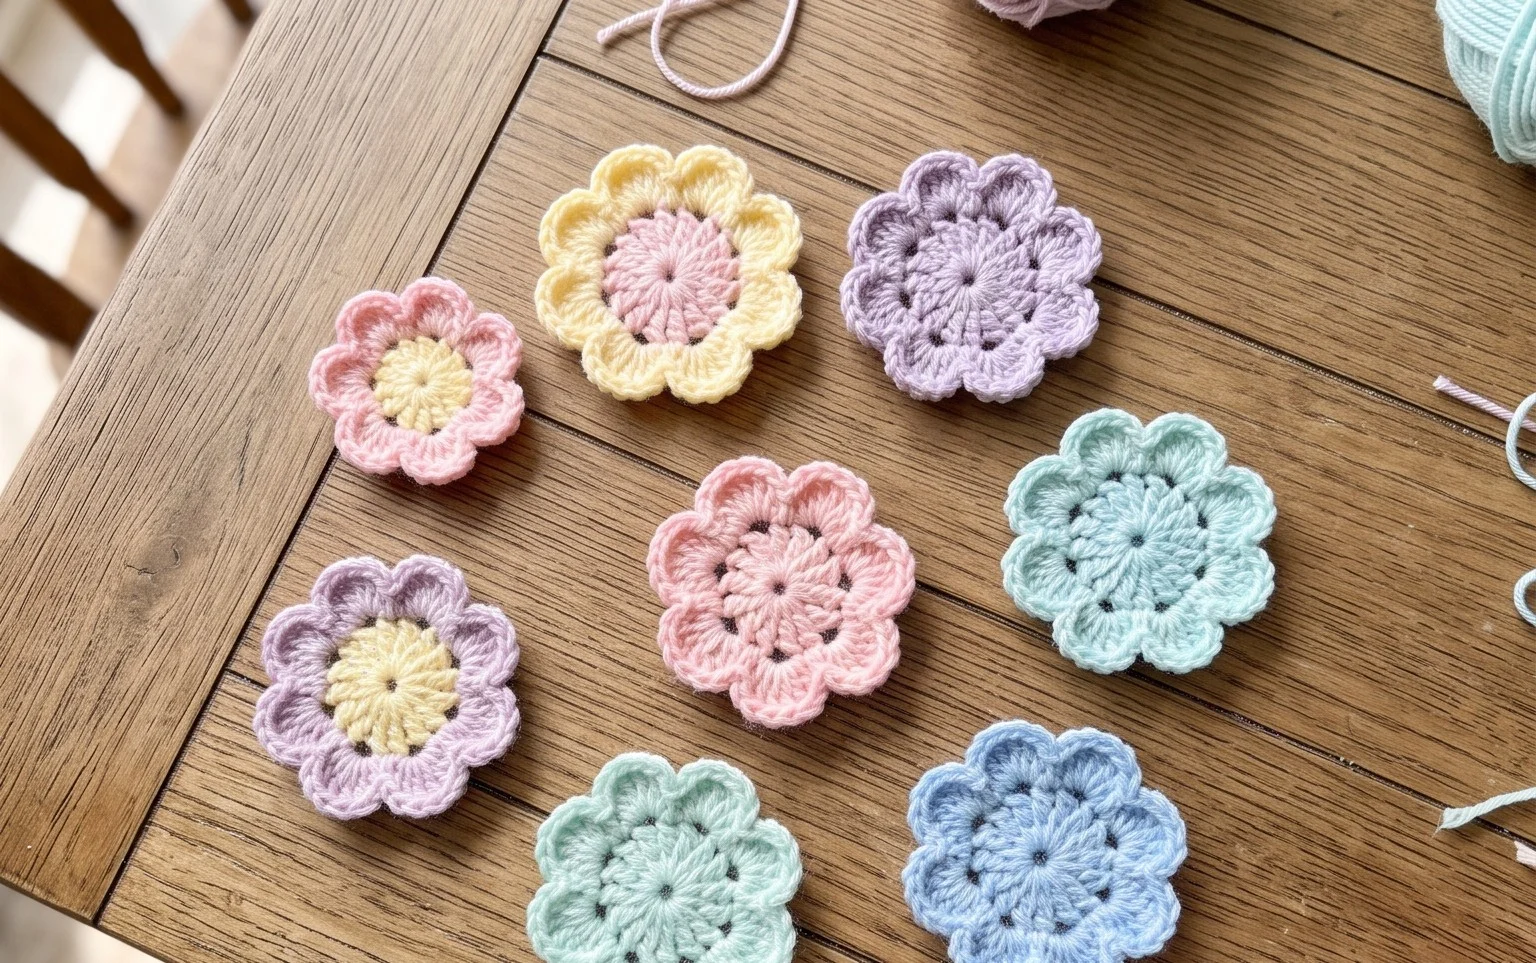
Soft cotton petals in muted shades of sage, lavender, and buttercup bring the freshness of a garden right into your living room even on a rainy afternoon. These small crochet motifs feel light in your hands and serve as quick projects for anyone wanting to build confidence with basic increases and simple shaping. You will learn the mechanics of working in the round and how to maintain even tension across delicate, curved edges without losing your place. They are lovely additions to handmade greeting cards or stitched onto a denim bag for a seasonal update you can finish in under an hour.
Why You’ll Love This Pattern
The Classic Crochet Granny Square is the foundation of countless heirloom projects, from blankets to modern garments. This pattern focuses on the traditional solid-start cluster method, which minimizes the central gap often found in beginner projects. You will appreciate how quickly the work progresses, as the repeating pattern of clusters becomes second nature within the first few rounds. It is an excellent way to use up partial skeins of leftover yarn, allowing you to experiment with color blocking or spontaneous gradients. The final result is a balanced, square motif with clean edges that are easy to join later.
I finally mastered the transition between rounds thanks to the clear instructions on where to place the slip stitch. My squares look uniform and professional for the first time.
— Sarah, hobbyist maker
Pattern Overview & Skill Level
- Skill Level: Beginner
- Approximate Time: 30 to 45 minutes per square
- Construction: Worked in rounds from the center outward, turning after each round to maintain a square shape
- Finished Dimensions: Approximately 6 inches by 6 inches using specified materials
Materials & Supplies Needed
- Yarn: Worsted weight (#4) acrylic or wool blend, approximately 30 yards per square.
- Hook Size: 5.0 mm (US H-8).
- Notions: Tapestry needle for weaving in ends, scissors, and optional locking stitch markers to mark the corner spaces.
- Safe Yarn Substitutions: Cotton yarn creates a firmer, more structured square but may require a smaller hook size to maintain the same gauge. Light worsted or DK weight yarn will result in a smaller square unless you add extra rounds.
Stitch Guide & Abbreviations (US Terms)
- ch = chain
- st = stitch
- sl st = slip stitch
- dc = double crochet
- dc-cluster = 3 dc worked into the same space
- sp = space
- MR = magic ring
Step-by-Step Pattern Instructions
Center and Round 1
- Start: Create a MR. Ch 3 (counts as first dc), work 2 dc into the ring, ch 2, 3 dc, ch 2 3 times. Join with a sl st to the top of the initial ch 3. Tighten the ring firmly. (12 dc, 4 ch-2 spaces)
Rounds 2-5
- Rnd 2: Sl st into the next corner ch-2 sp. Ch 3, 2 dc, ch 2, 3 dc in same sp. Ch 1, skip 3 dc, (3 dc, ch 2, 3 dc) in next ch-2 corner sp 3 times. Ch 1, join with sl st to the top of the starting ch 3. (24 dc, 8 ch-1/ch-2 spaces)
- Rnd 3: Sl st into the corner sp. Ch 3, 2 dc, ch 2, 3 dc in same sp. Ch 1, 3 dc in next ch-1 sp, ch 1, (3 dc, ch 2, 3 dc) in corner sp 3 times. Ch 1, 3 dc in final ch-1 sp, ch 1, join. (36 dc)
- Rnd 4: Sl st into corner. Ch 3, 2 dc, ch 2, 3 dc in same sp. (Ch 1, 3 dc in each ch-1 sp across to next corner), ch 1, (3 dc, ch 2, 3 dc) in corner sp 3 times. Ch 1, work side clusters, ch 1, join. (48 dc)
- Rnd 5: Repeat the logic of Round 4, placing 3 dc in every ch-1 space along the sides and (3 dc, ch 2, 3 dc) in every corner space. (60 dc)
Finishing
Fasten off, leaving a 6-inch tail. Use the tapestry needle to weave the yarn end through the base of the final stitches on the back side of the square to secure it. Trim excess yarn close to the fabric.
Care & Washing Instructions
- Machine wash in cold water on a gentle cycle, preferably inside a mesh laundry bag to prevent snagging.
- Lay the square flat on a towel to air dry, shaping it into a perfect square while damp to ensure the corners are sharp.
- Avoid using high heat or tumble drying, as this can cause synthetic fibers to melt or natural fibers to felt unevenly.
Pro Tips & Common Mistakes to Avoid
To maintain consistent tension, hold the yarn with a steady, relaxed grip throughout the entire project. Using a stitch marker at the start of each round helps prevent you from losing your place when working with multiple colors or long rows. When weaving in your ends, run the needle through the stitches in multiple directions; this prevents the ends from popping out after repeated washings. If you want to increase the size of the square, simply continue the pattern of placing 3 dc in each side space and the corner cluster in every corner, keeping in mind that each additional round will consume approximately 15 percent more yarn.
Frequently Asked Questions
Can I use a different hook size for this pattern?
Yes, you can adjust the hook size. A smaller hook will result in a tighter, denser square, while a larger hook will produce a looser, drapier fabric. Always adjust your tension accordingly.
Is this square suitable for a beginner?
This is a classic beginner pattern. It teaches the essential concepts of working in rounds, managing corner increases, and understanding cluster spacing, which are all building blocks for larger projects.
How do I join these squares together?
Common methods include the whip stitch for a clean seam or the single crochet join for a raised, textured effect. Ensure you match the stitches one-to-one along the edges to prevent puckering.
Am I allowed to sell items made from this pattern?
You are welcome to sell finished products created from this design. Please credit the pattern designer when listing your items online to support the community.
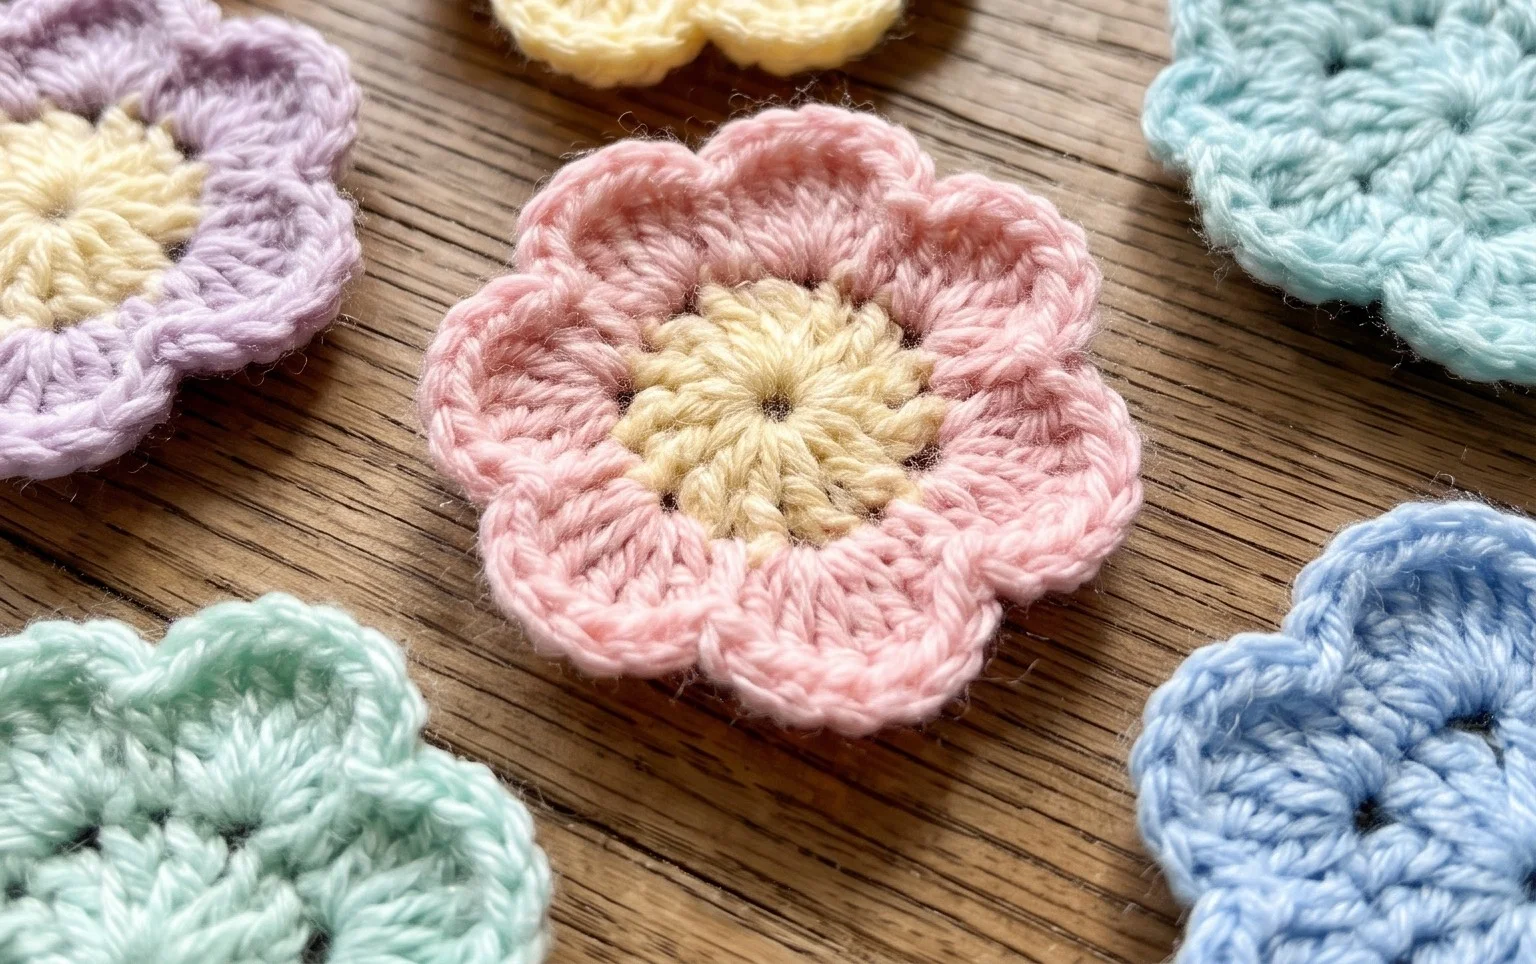
Seeing these colorful buds finished on your coffee table provides a quiet sense of accomplishment that lasts throughout the season. You can easily adapt these by using a thinner embroidery floss for a miniature look or adding a beaded center for extra weight and shine. Post a picture of your finished bouquet on Instagram so we can see your unique color combinations. Browse the rest of our pattern library for more ways to fill your home with handmade items throughout the coming warmer months ahead.