Easy Crochet Honeycomb Stitch Beanie: Step-by-Step Guide
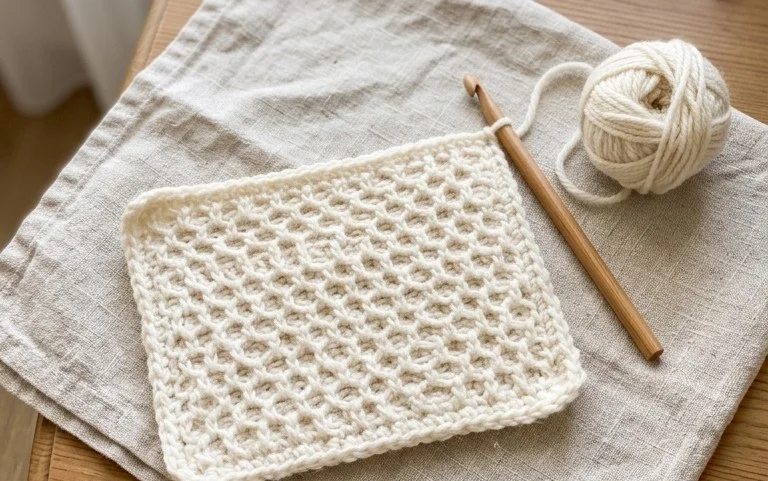
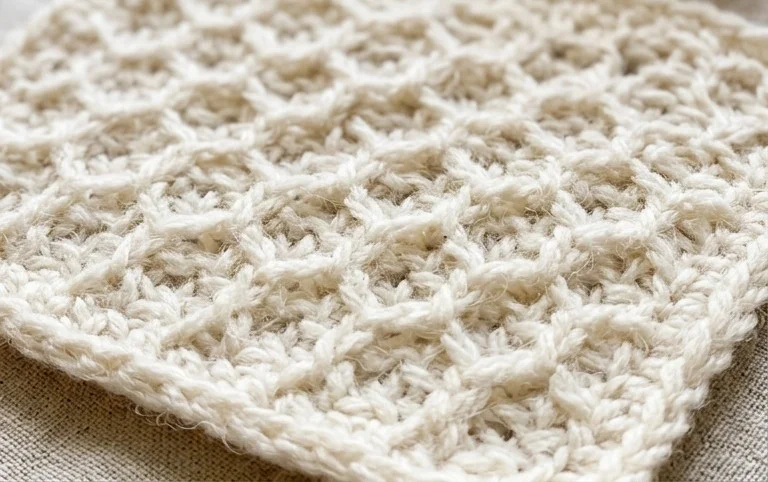
This textured hat mimics the geometric structure of a beehive, creating a thick, squishy fabric that keeps ears warm when the temperature drops. The honeycomb stitch is a favorite because it appears complex while actually relying on simple post stitches that you can master in just a few rounds. Beginners often find that working this repetitive pattern helps improve tension control and creates a professional result that looks expensive but costs only one skein of yarn. Whether you want to stock your gift drawer or add a cozy accessory to your own wardrobe, this project delivers consistent, beautiful results quickly.
Why You’ll Love This Pattern
This classic crochet beanie provides a structured yet soft fit that works up quickly using simple stitch repeats. The texture created by the half double crochet stitch is dense enough to trap heat during cold weather, yet maintains a comfortable stretch for daily wear. You will find that this pattern is exceptionally beginner-friendly because it relies on basic construction methods without requiring complex shaping or joining techniques. Because it uses a medium-weight yarn, you can complete the entire project in a single evening, making it an ideal choice for last-minute handmade gifts.
I managed to finish this hat in just a few hours over the weekend, and the instructions were clear enough that I didn’t have to pull anything out once. It fits my head perfectly and the weight of the yarn feels very high quality.
— Sarah, beginner crocheter
Pattern Overview & Skill Level
- Skill Level: Beginner
- Approximate Time: 3 to 4 hours
- Construction: Worked flat as a rectangular panel, then seamed at the side and gathered at the top
- Finished Dimensions & Sizing: Fits an average adult head (20-22 inches circumference); 9 inches height
Materials & Supplies Needed
- Yarn: Worsted weight (#4), 100% acrylic or wool blend, approximately 200 yards
- Hook Size: 5.0 mm (US H-8)
- Notions: Tapestry needle for seaming and weaving ends, locking stitch markers, measuring tape
- Safe yarn substitutions: You may use cotton yarn, though it will result in less stretch and a heavier feel; ensure the label suggests a 5.0 mm hook for best gauge results.
Stitch Guide & Abbreviations (US Terms)
- ch = chain
- hdc = half double crochet
- st/sts = stitch/stitches
- BLO = back loop only (insert hook under the back loop of the stitch instead of both loops)
- sl st = slip stitch
- FO = fasten off
Step-by-Step Pattern Instructions
Beanie Panel
The hat is worked in rows to create a ribbed fabric. Working in the BLO creates the characteristic vertical ridges.
- Row 1: Ch 45. Hdc in the second ch from hook and each ch across. Turn. (44 sts)
- Row 2: Ch 1, hdc in BLO of each st across. Turn. (44 sts)
- Rows 3-60: Repeat Row 2 until the piece measures approximately 20 inches wide when slightly stretched. Do not FO.
Assembly and Finishing
- Seaming: Fold the rectangle in half so the short ends meet. Sl st or sew the two short ends together through both layers to create a tube. FO and leave a long 12-inch tail.
- Closing the Crown: Using your tapestry needle, weave the long tail in and out of the stitches along the top edge of the tube. Pull the yarn tail tight to gather the opening shut. Secure the yarn with a tight knot on the inside.
- Weaving Ends: Turn the hat right side out and secure all remaining loose ends by weaving them into the seam area.
Care & Washing Instructions
- Hand wash in cool water with a gentle detergent to maintain the integrity of the fibers.
- Lay the item flat on a towel to dry, ensuring it is reshaped to its original dimensions before air-drying.
- Avoid using bleach or tumble drying, as high heat can damage acrylic fibers or cause wool to felt.
Pro Tips & Common Mistakes to Avoid
- Check your tension periodically; if your foundation chain is too tight, the base of the hat will not stretch to fit your head comfortably.
- Use a stitch marker on the first stitch of every row to ensure your stitch count remains consistent at 44 sts throughout the entire project.
- When seaming, use a mattress stitch for an invisible finish that prevents a bulky ridge along the side of the hat.
- Adjusting the size is simple: add rows for a larger circumference or chain fewer stitches for a shorter beanie height; keep in mind that modifying the size will change the total yardage needed.
Frequently Asked Questions
Can I use a larger hook if my tension is tight?
Yes, if your gauge is consistently too tight, you can move up to a 5.5 mm hook, but be aware that this will create a slightly more open fabric and may require more yarn.
How do I know if the hat will fit correctly?
The piece should measure roughly 2 inches less than your total head circumference before seaming, as the ribbing provides the necessary stretch for a snug, secure fit.
Is it okay to sell items made from this pattern?
You are welcome to sell finished items created from this pattern, provided you credit the design, but you may not sell or redistribute the written instructions themselves.
What if I run out of yarn before finishing?
If you run low, you can shorten the height of the hat by chaining fewer stitches at the start, or simply finish the last few rows to create a beanie with a slightly shorter profile.
Seeing your handmade hat finished and ready to wear is a satisfying reward for just a few hours of work. If you want to experiment, try holding two different colors of yarn together to create a subtle marled look or switch to a wool blend for extra cold protection. Seeing how your stitches turn out is the best part of the process, so consider sharing a photo of your finished work on your favorite social feed. You are always welcome to browse the rest of the blog for more free patterns to fill your next afternoon.