Easy Crochet Folded Cuff Beanie: Free Step-by-Step Guide
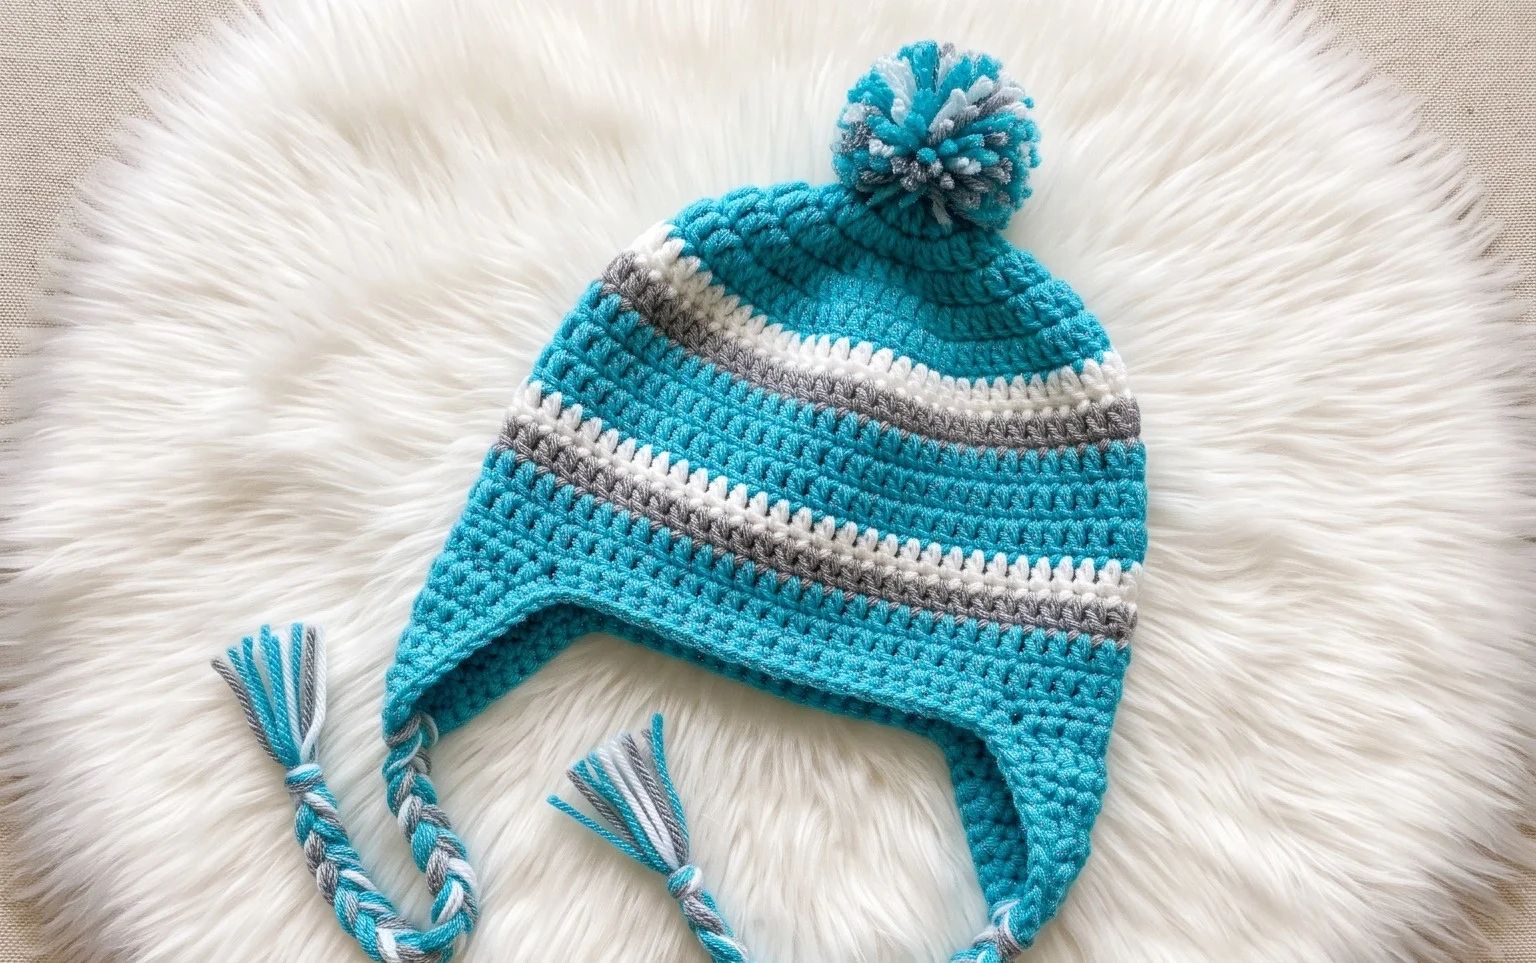
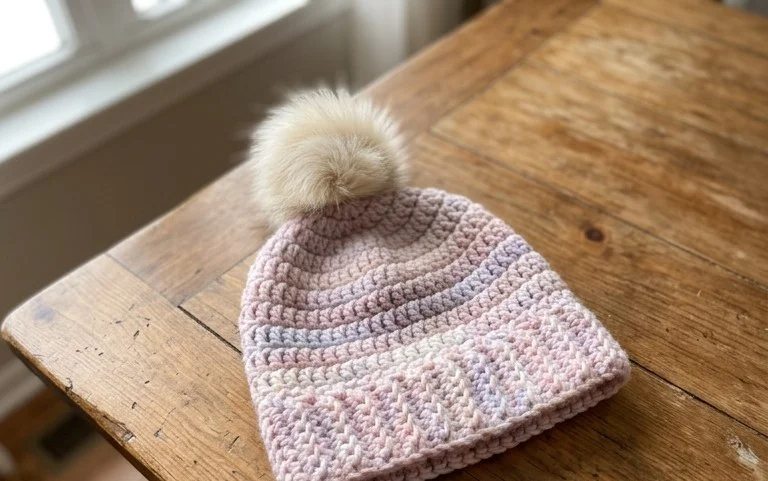
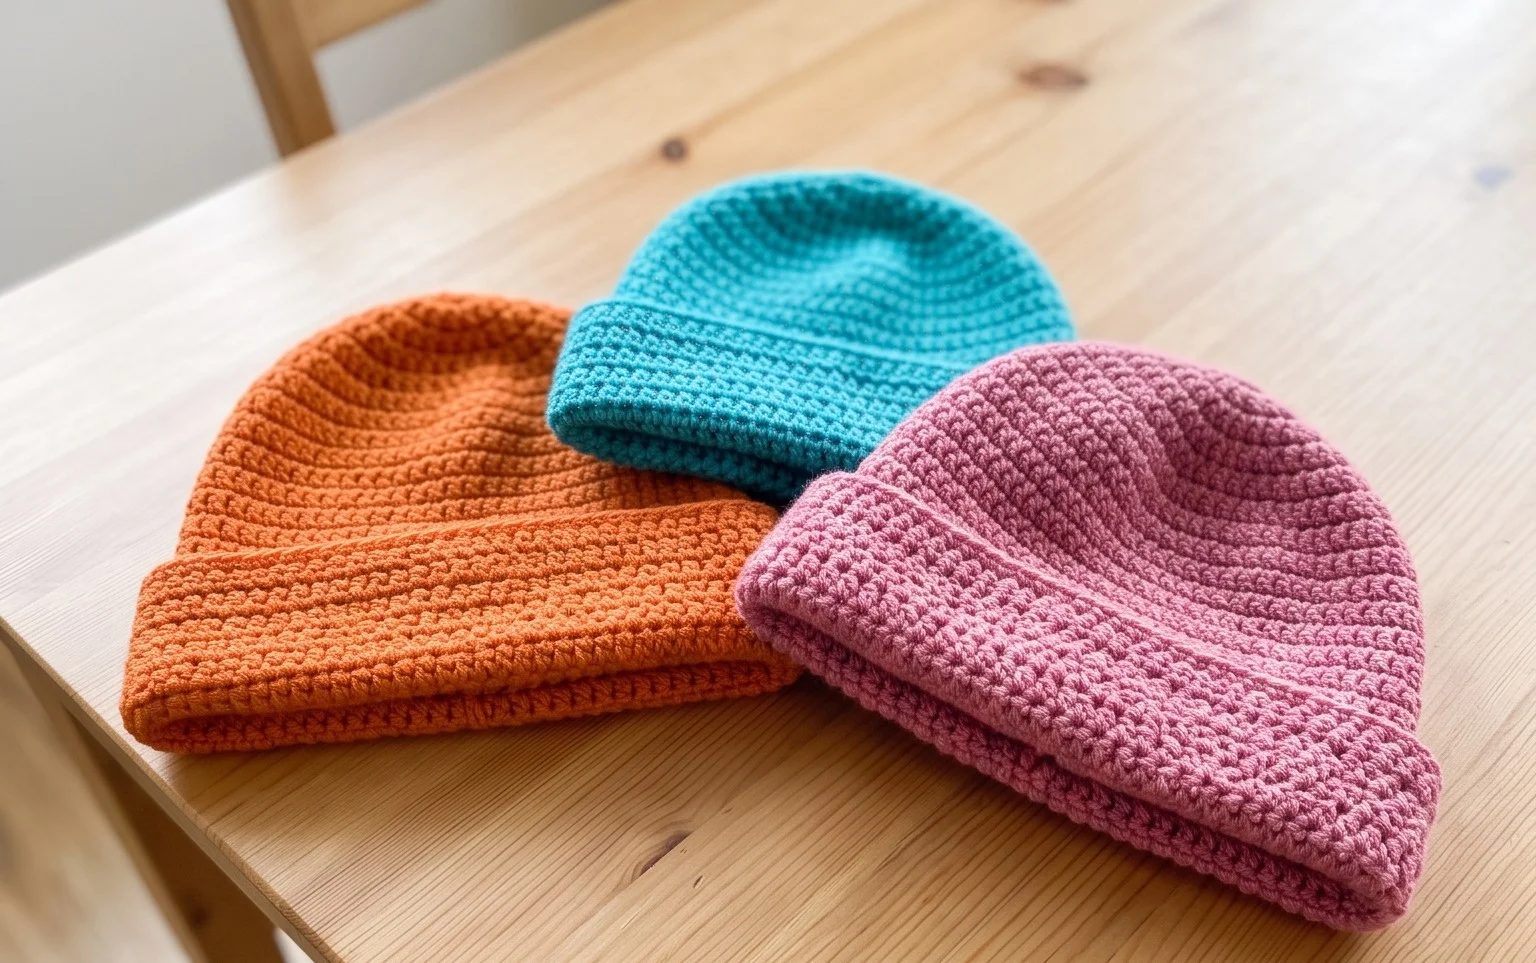
This squishy, thick hat features a deep brim that provides extra warmth around the ears during cold winter walks. Its structural folded edge gives the fabric a professional look that hides seams while creating a snug fit for any head size. You will master the basic half-double crochet stitch worked in the back loop only to produce a stretchy, ribbed texture that holds its shape wash after wash. This project works up quickly with just a few hours of work, which makes it a sensible choice for thoughtful handmade gifts or filling out your own autumn wardrobe.
Why Crocheters Love It
The Classic Crochet Granny Square is the fundamental building block of crochet design. This pattern uses a traditional three-double-crochet cluster technique that creates a balanced, open-mesh fabric perfect for blankets, cardigans, or tote bags. You will appreciate how quickly this pattern works up once the first few rounds are established. It is an excellent scrap-yarn project because each round can be worked in a different color to use up small remnants from your stash. Because the construction repeats the same sequence of stitches, it serves as a meditative project for travel or watching television.
I finally mastered the granny square with this guide. The stitch counts are clear, and I love how my scrap yarn stash is finally being put to good use for a large throw blanket.
— Sarah, hobbyist crafter
Pattern Overview & Skill Level
- Skill Level: Beginner
- Approximate Time: 30 to 45 minutes per square
- Construction: Worked in joined rounds, starting from the center and expanding outward
- Finished Dimensions: Approximately 5 inches square using worsted weight yarn
Materials & Supplies Needed
- Yarn: Worsted weight #4, 100% acrylic or wool blend, approximately 15 yards per square.
- Hook Size: 5.0 mm / H-8
- Notions: Tapestry needle for weaving in ends, scissors, and a measuring tape.
- Safe yarn substitutions: You can use DK weight yarn for a smaller square or bulky weight yarn for a larger square. Note that changing yarn weight requires adjusting your hook size to match the yarn manufacturer recommendation, which will significantly change the final dimensions of your finished project.
Stitch Guide & Abbreviations (US Terms)
- ch = chain
- st = stitch
- sl st = slip stitch
- dc = double crochet
- dc cluster = 3 double crochet stitches worked into the same space
- sp = space (the gap created by ch-1 or ch-2)
- MR = magic ring
Step-by-Step Pattern Instructions
This square is worked in continuous rounds, joining at the end of each round to maintain the square shape.
- Rnd 1: Start with a MR. Ch 3 (counts as first dc), work 2 dc into the ring, ch 2. Work [3 dc into ring, ch 2] 3 times. Join with a sl st to the top of the starting ch 3. (12 dc, 4 ch-2 sps)
- Rnd 2: Sl st into the first ch-2 corner sp. Ch 3, 2 dc, ch 2, 3 dc all in the same corner sp. Ch 1. In the next corner sp, work 3 dc, ch 2, 3 dc. Repeat this in each corner. Ch 1, join with a sl st to the top of the starting ch 3. (24 dc, 8 ch-1 sps)
- Rnd 3: Sl st into the corner sp. Ch 3, 2 dc, ch 2, 3 dc in same corner sp. Ch 1, work 3 dc in the side ch-1 sp, ch 1. In next corner, work 3 dc, ch 2, 3 dc. Repeat around. Join with a sl st to the starting ch 3. (36 dc, 12 ch-1 sps)
- Rnd 4: Work as Rnd 3, working 3 dc, ch 2, 3 dc in each corner and 3 dc in every side ch-1 sp, separating all clusters with a ch 1. (48 dc, 16 ch-1 sps)
Finishing
Cut your yarn, leaving a 6-inch tail. Pull the tail through the final loop to secure. Use your tapestry needle to weave the end through the back of the stitches to hide the yarn securely. Repeat for any color changes made between rounds.
Care & Washing Instructions
- Machine wash on a gentle cycle in cool water (30C) using a mild detergent.
- Lay the square flat on a towel to dry, avoiding direct heat sources that may melt synthetic fibers.
- Use a steam iron on low or a garment steamer to lightly block the square, ensuring the corners remain square and the stitches are even.
Pro Tips & Common Mistakes to Avoid
Maintain consistent tension by holding your yarn with a steady grip, as loose tension makes the gaps between clusters look overly large. Always place a stitch marker in the top of your starting chain to identify where the round ends, preventing you from accidentally skipping the final joining slip stitch. When weaving in your ends, carry the tail through the center of the double crochet stitches on the reverse side to ensure the finish remains invisible from the front. If you decide to add more rounds to increase the size, remember that each additional round will require approximately 10 to 15% more yarn than the previous round.
Frequently Asked Questions
Can I substitute the yarn for a different weight?
Yes, you can use any weight of yarn, but you must adjust your hook size to match the label. Using a smaller hook than recommended will make the fabric stiff, while a larger hook will make the square loose and holey.
How do I join these squares together?
You can join squares using a whip stitch with a tapestry needle, or use a slip stitch join by holding the squares with right sides together and crocheting through the back loops only.
Is this pattern suitable for complete beginners?
This pattern is highly recommended for beginners because it relies on the double crochet stitch and introduces working into chain spaces rather than tight stitch tops, making the process much more forgiving.
Am I allowed to sell finished items made from this pattern?
You are welcome to sell physical items created using this pattern. Please provide credit to the designer in your product listings to help others find the source.
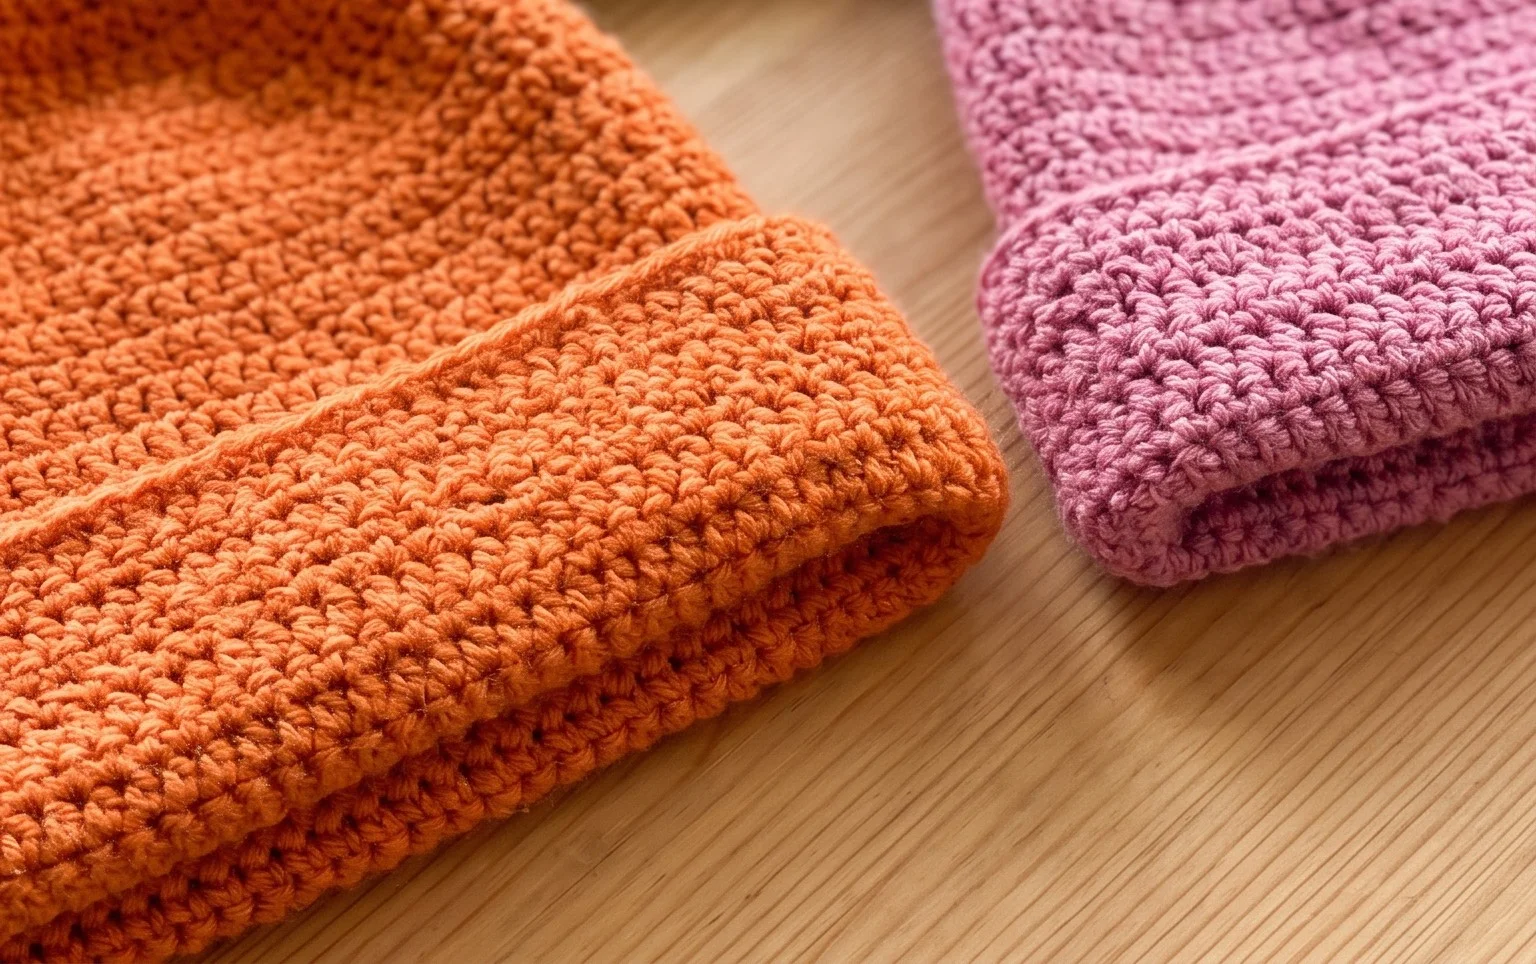
You have now finished a cozy, functional accessory that will keep you warm through the coldest months of the year. Consider holding two strands of yarn together to experiment with marled color effects or to adjust the sizing for a smaller child. Seeing your work is the best part of the process, so please post a photo of your finished hat on your favorite social media channel. Feel free to browse through the archive for more free patterns to start your next winter project today.